Image

If you have not yet registered for an account on our new system, you will need to do that the first time you log in. Register for a new account now or click Register for a new account on the login page and use your preferred email address and a secure password you will remember.
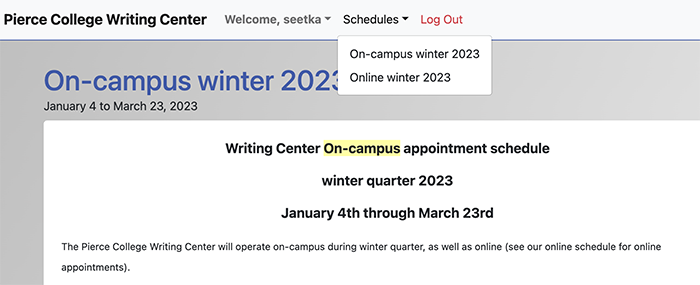
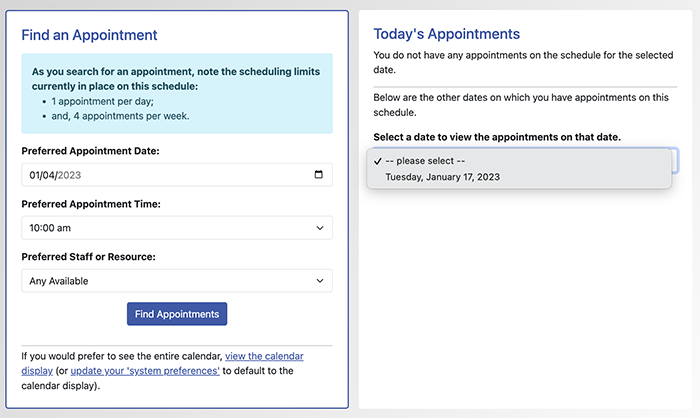
1. Make sure you choose the right schedule from the drop-down menu.
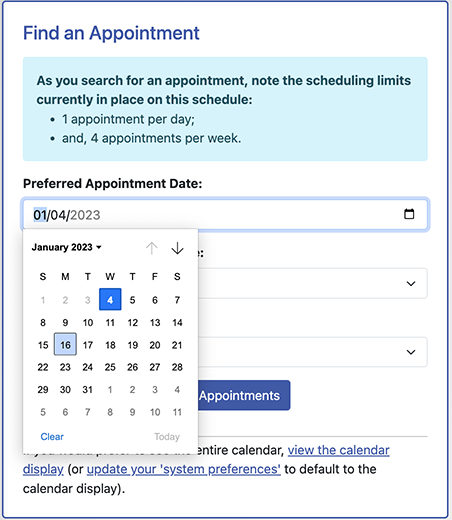
2. Choose the date you want the appointment by typing in a date or by using the calendar icon to navigate to the date of your choice.
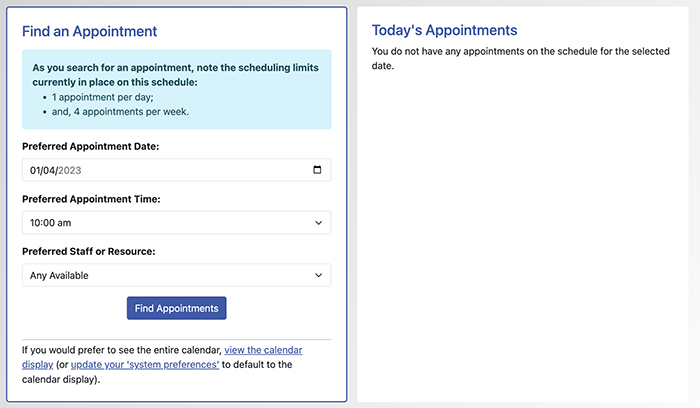
3. Once you click the Find Appointments button, it will take you to some appointment options.
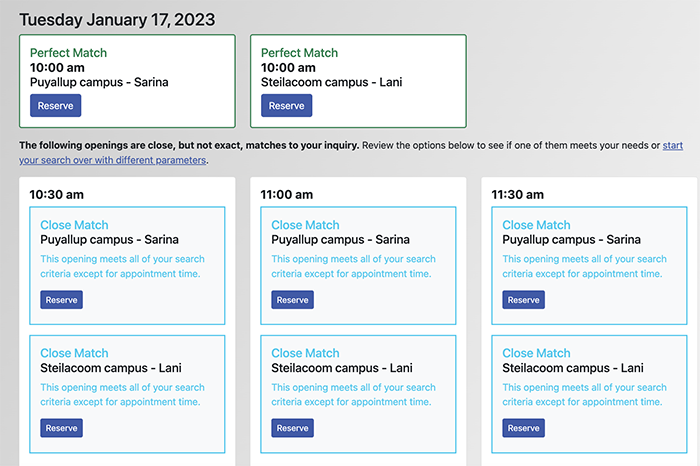
4. When you click on Reserve, the appointment window comes up for you to fill in more details. You can choose a 30-minute or 60-minute appointment.
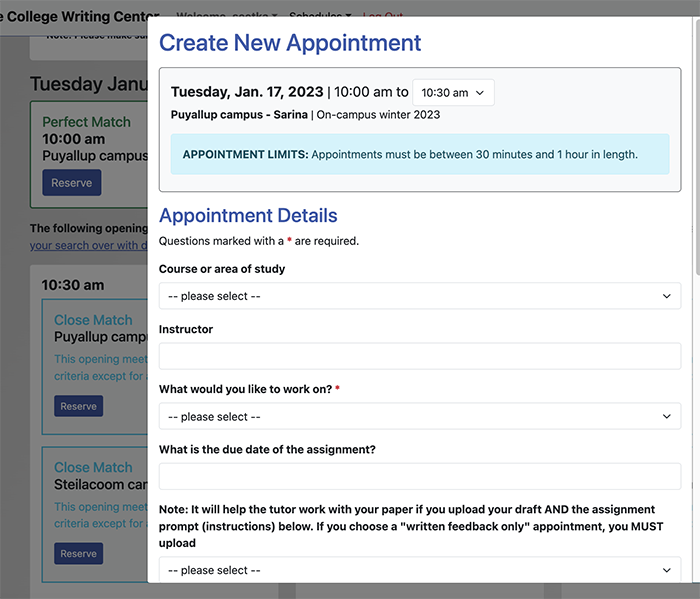
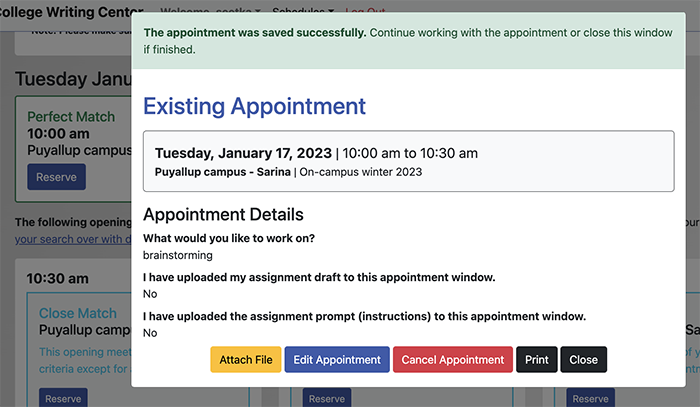
5. Once you fill in and save your reservation, you will see that your appointment has been made. If you have not uploaded any files, you can still do so before your appointment.
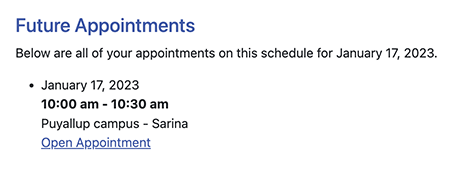
6. When you close the appointment window, you will be taken back to the scheduling homepage. You will be able to see your appointment on the right-hand side if you use the drop-down menu.
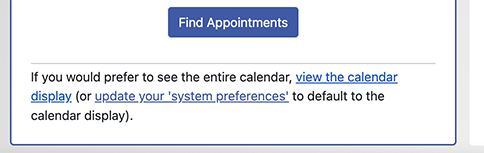
7. If you prefer to make appointments using the calendar view and clicking the time boxes, you can still do that by choosing that view. This view can also be set as the default view.

8. At the top of the page, you can either move to your selected date on the calendar (on the left-hand side) or use the blue button to go back to the Appointment Search homepage (on the right-hand side).

9. You can always go back to edit your appointment(s) from the Appointment Search homepage. You can change the date or time, cancel your appointment, or add files by clicking on your appointment and editing it.
Editing of appointments closes 10 minutes before the actual appointment time, so you will need to call us if you need to make a last minute cancellation in order to avoid being a no-show. We appreciate you cancelling an appointment as early as possible so that we can free up that spot for another student who may want it.