MFA - Adding a Non-Microsoft Authenticator App
Okta Verify App Instructions
Download the Okta Verify app from your app store (Apple iOS, Google Play Store)
NOTE: It is recommended to log into PierceWIFI using your Pierce student account if you are downloading the app on campus.
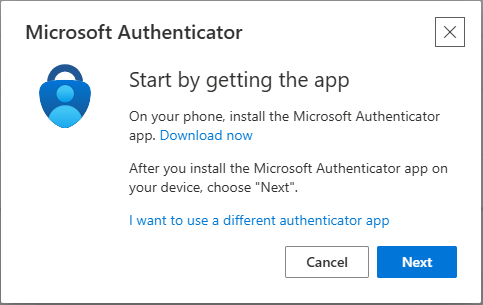
When you see this screen, click “I want to use a different authenticator app.”
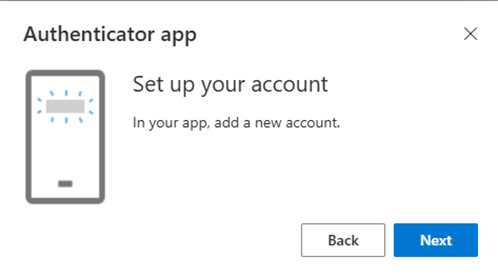
Click Next to set up your Pierce student email account with Okta.
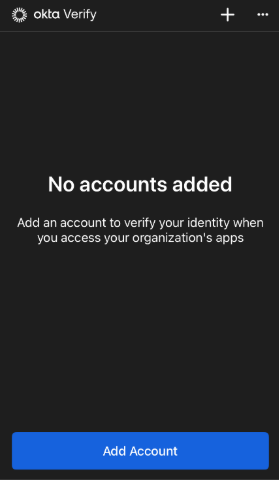
Open the Okta Verify app and click Add Account.
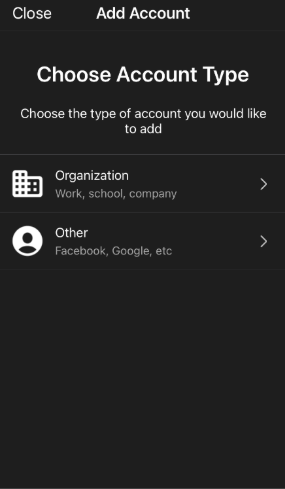
From the Choose Account Type page, click Organization.
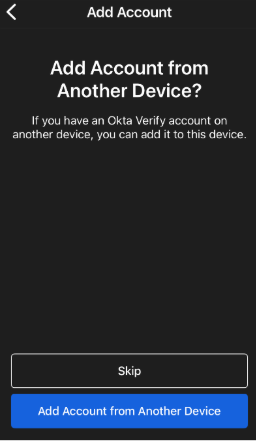
From the Add account from Another Device page, click Skip.
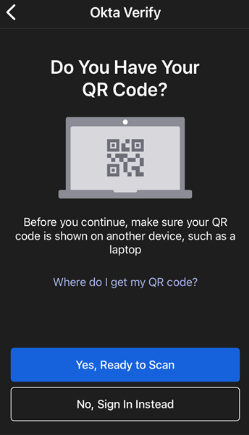
Back on your smartphone in the Okta Verify app, click Yes, Ready to Scan. Allow the app to access your camera.
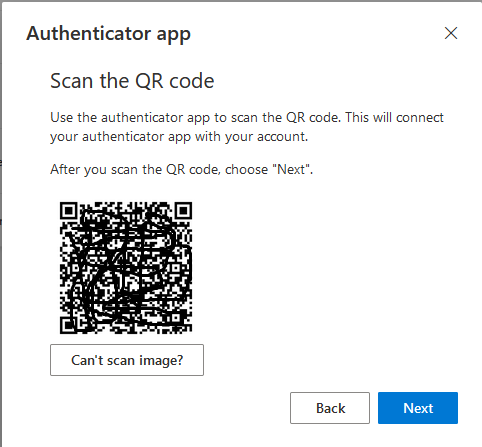
Going back to the webpage to Setup an authenticator app, you can see the QR code that was generated. Scan the code with your smartphone to add your Pierce student email account.
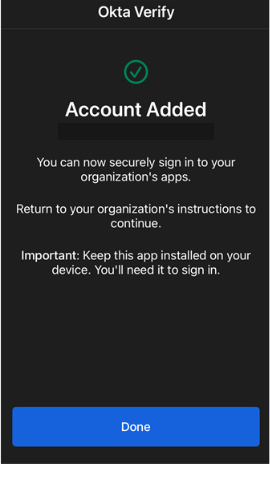
You will see a successful Account Added screen on your smartphone when the device and website sync up. Click Done.
You will see a six-digit code with a bar moving across the top of the app. When the bar reaches the end of the screen, the number will reset automatically.
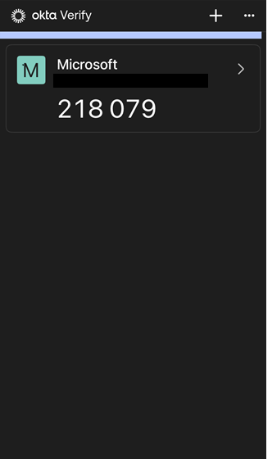
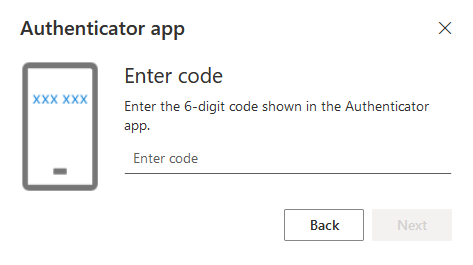
Enter the current code you see back on the Microsoft website in the space provided under the QR code and click Next.
You have now successfully added the Okta Verify app as an MFA sign in option for you when logging into your Pierce student email account, OneDrive, Office 365, or Chromebook borrowed from the library. If prompted, click to allow your smartphone to send you timely notifications for MFA.
Next, we recommend choosing a preferred authentication method.